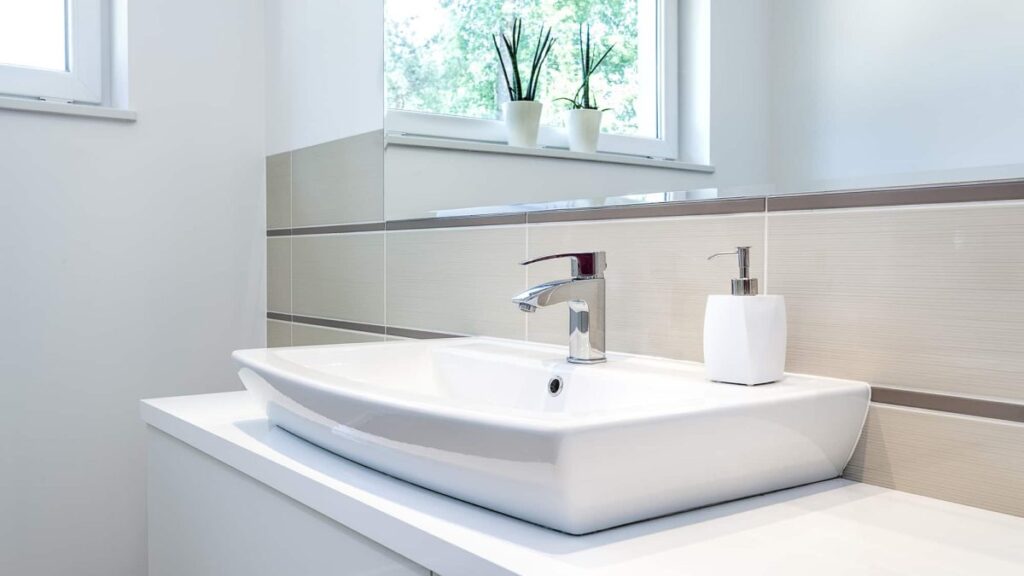
Painting your bathroom countertop can be a great way to update the look of your space without spending too much money.
It’s not a difficult project, and with these simple steps, you’ll have a beautiful new countertop in no time! This step-by-step guide will walk you through the process of painting your bathroom countertop, from prepping to sealing it for protection.
With just some basic supplies and an afternoon of work, you’ll be able to give your bathroom countertops a fresh new look.
Preparing The Countertop
According to the National Kitchen and Bath Association, bathroom countertops make up one-fourth of all kitchen remodeling projects. As such, it is important that you take your time when painting them for a professional finish.
The first step in any successful paint job is proper preparation of the surface. Gather what you need: sandpaper, tack cloths, drop cloths, and painter’s tape. Begin by using 80-grit sandpaper to roughen the surface, making sure to get into any nooks or crannies. After that use 150-grit paper to create a smooth finish and wipe away any dust with a damp rag before proceeding further.
Once this has been done, go over thoroughly with a clean tack cloth to remove any remaining debris from the surface—this will ensure better adhesion of the primer later on. Finally lay down protective drop cloths around the area before starting on choosing the right kind of paint for your needs.
Choosing The Paint
When it comes to painting bathroom countertops, the type of paint and materials you use are just as important as the process. Before getting started, make sure to have all the necessary supplies on hand including a good quality brush, appropriate paint for your surface material, and additional accessories like painter’s tape if needed.
Once you’ve chosen what kind of paint and other materials you need for the project, it’s time to move on to applying primer.
Primer helps ensure that whatever color or finish you choose will stick properly and last longer in comparison to not using one. It also gives an extra layer of protection from water damage over time.
Applying Primer
Upgrading your bathroom countertops can completely transform the look of your space, giving it a modern and refreshed feel. To achieve a durable finish, the first step is to apply primer to the entire surface. Before this, it is important to sand down the flat surface to create an even base for the primer application.
Once the surface is clean and dust-free, the primer can be applied, which not only creates a strong bond between the surface and paint but also helps protect against scratches. With careful preparation and attention to detail, achieving a beautiful result with minimal effort is possible.
Let it sit overnight before continuing – now we are ready to begin painting our countertop.
Painting The Countertop
When it comes to painting custom bathroom countertops, paying attention to detail is essential. Before beginning, gather all the necessary supplies, including paint, an angled brush, and a roller.
Start by painting the edges of the countertop using the angled brush and ensuring that each edge is covered with a single coat of paint. Once the edges are done, use a roller to apply two coats of paint over the entire flat surface of the countertop.
Be sure to let each coat dry for at least 24 hours before applying the next coat. By taking your time and being patient, you’ll achieve a beautiful and durable finish on your custom countertops.
When it comes to the finishing touches, take extra care to apply sealers or glazes to protect your newly painted finish from damage. With proper attention to detail and careful application, you can achieve a durable and long-lasting finish for your bathroom countertop.
Finishing Touches
It is like a masterpiece painting coming to life. After carefully choosing the shade and hue of paint, you have painstakingly applied each layer with meticulous attention to detail. Now is the time for those finishing touches that will make your countertop shine like never before.
- Start by taking a damp cloth and wiping away any excess dust or debris from your surface;
- Apply a coat of protective sealant over the entire area;
- Buff the sides and edges with sandpaper until they are smooth and even.
The last step in this project is to take some paper towels and lightly buff the surface with it one more time. This final touch ensures that all areas are clean and free of smudges so that you can enjoy your bathroom countertop for years to come!
Final Thoughts
To finish up your project, you need to apply a sealant over the countertop. This will protect it from water damage and keep the paint looking fresh for longer. Make sure to read all instructions carefully before applying any products.
Once everything is sealed and dry, stand back and admire your handiwork – what was once an outdated bathroom countertop has now been transformed into something beautiful! Have you achieved the look that you were hoping for?


